How to Set Up Google Search Console (Beginner’s Guide)
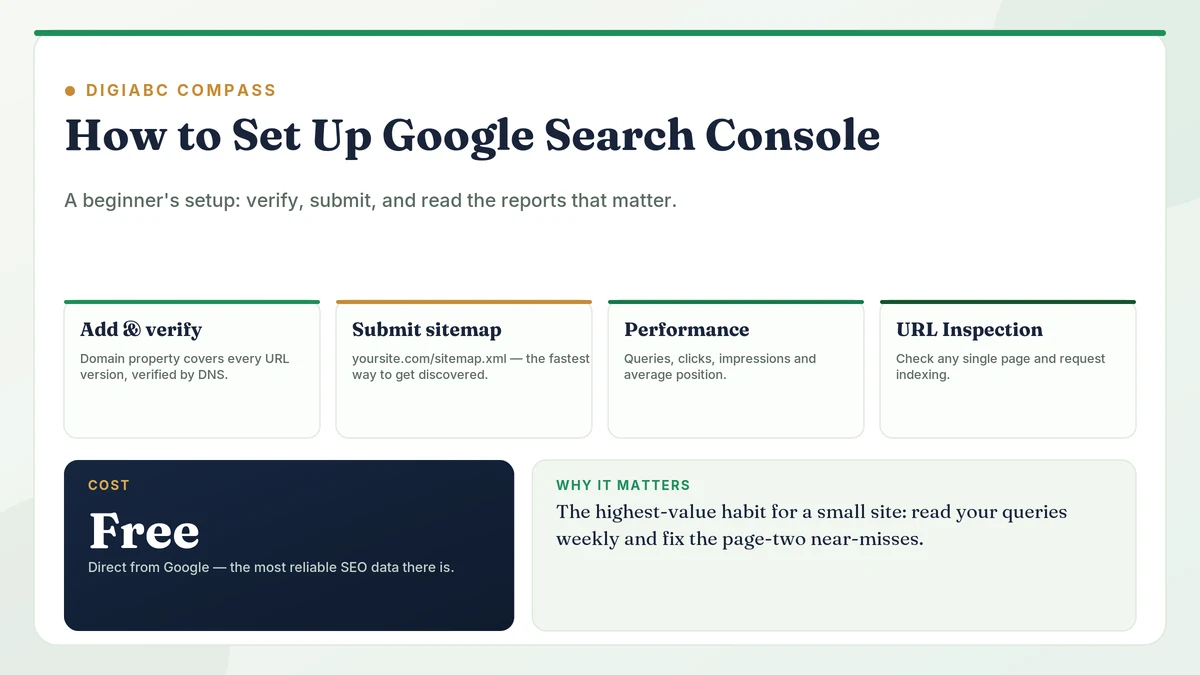
Search Console is the first thing to set up on any website, and the most common thing beginners skip. It is free, it comes straight from Google, and it shows you what every SEO tool only guesses at: which pages are indexed, which searches bring you traffic, and where you rank. Working without it is guessing with extra steps.
Google Search Console is a free tool that shows how your website performs in Google Search. It reports the queries that bring you impressions and clicks, which pages are indexed, your average positions, and any technical issues Google has found. It is the most reliable source of SEO data because it comes directly from Google.
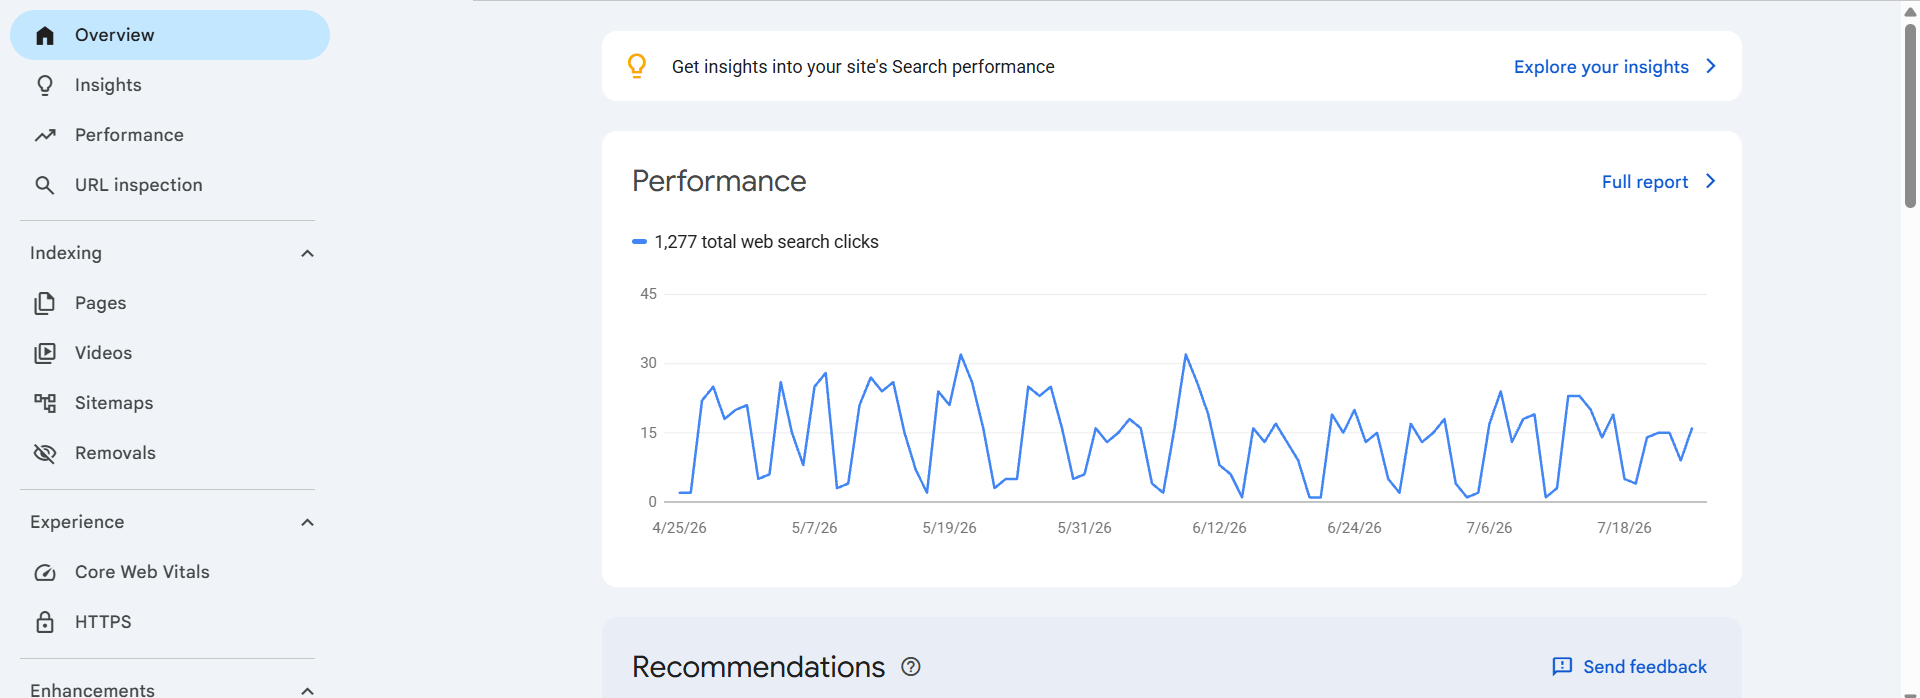
Update, July 2026: a new property type in Search Console
On July 7, 2026, Google added a new property type to Search Console called platform properties. The classic Add a website flow below is unchanged and still the default option in the Add Property modal. What’s new is an additional “New” section beneath it, listing four platforms you can add instead: Instagram, TikTok, X, and YouTube.
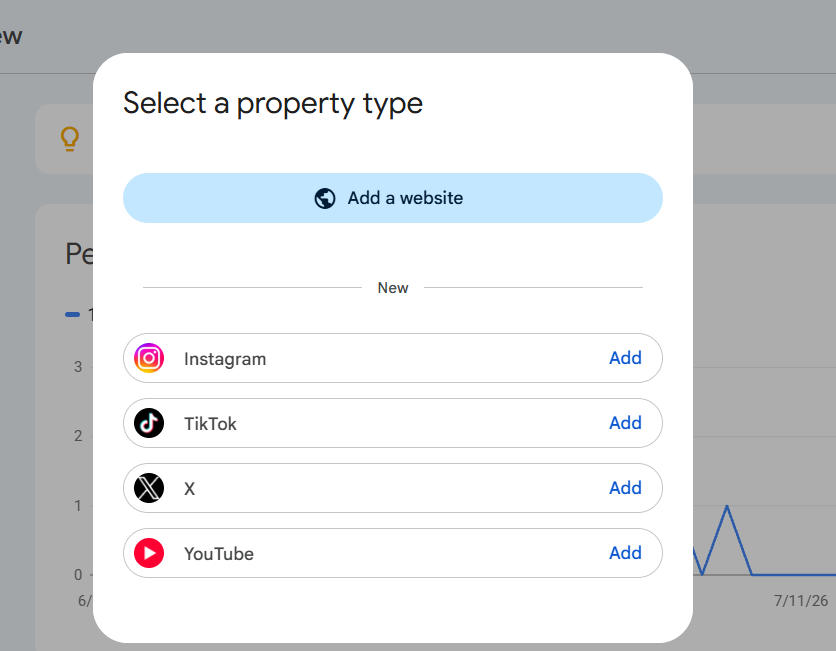
What is a platform property?
A platform property is a Search Console property that tracks a social or video account instead of a website. Once you add and verify one, it shows how that account’s individual posts perform in Google Search and Discover: clicks, impressions, and the exact search terms that led people to them. It uses the same Performance report style as a website property, plus a new Insights and Achievements view.
How is it different from a website property, and how do you set one up?
A website property verifies a domain you own. A platform property verifies a social or video account instead, and it’s the first Search Console property type that doesn’t require owning a website, which is why Google is positioning it at creators as much as site owners. Setup skips DNS records, HTML tags, and file uploads: open Add Property, choose one of the four platforms, and authorize the connection directly from that platform’s account.
Is this the same as Search profiles, and when will I see it?
No. Platform properties are a distinct July 2026 launch, separate from June 2026’s Search profiles feature. Google is also rolling this out gradually over several weeks, so if the “New” section isn’t in your Add Property modal yet, that’s expected and not a sign anything is broken on your end.
Step 1: Add and verify your site
Go to Search Console and sign in with the Google account you want to manage the property with. Click “Add Property,” and before anything else you’ll be asked to choose between two property types: Domain or URL-prefix. This choice decides how much of your site’s data you see and which verification methods are open to you, so it’s worth getting right the first time.
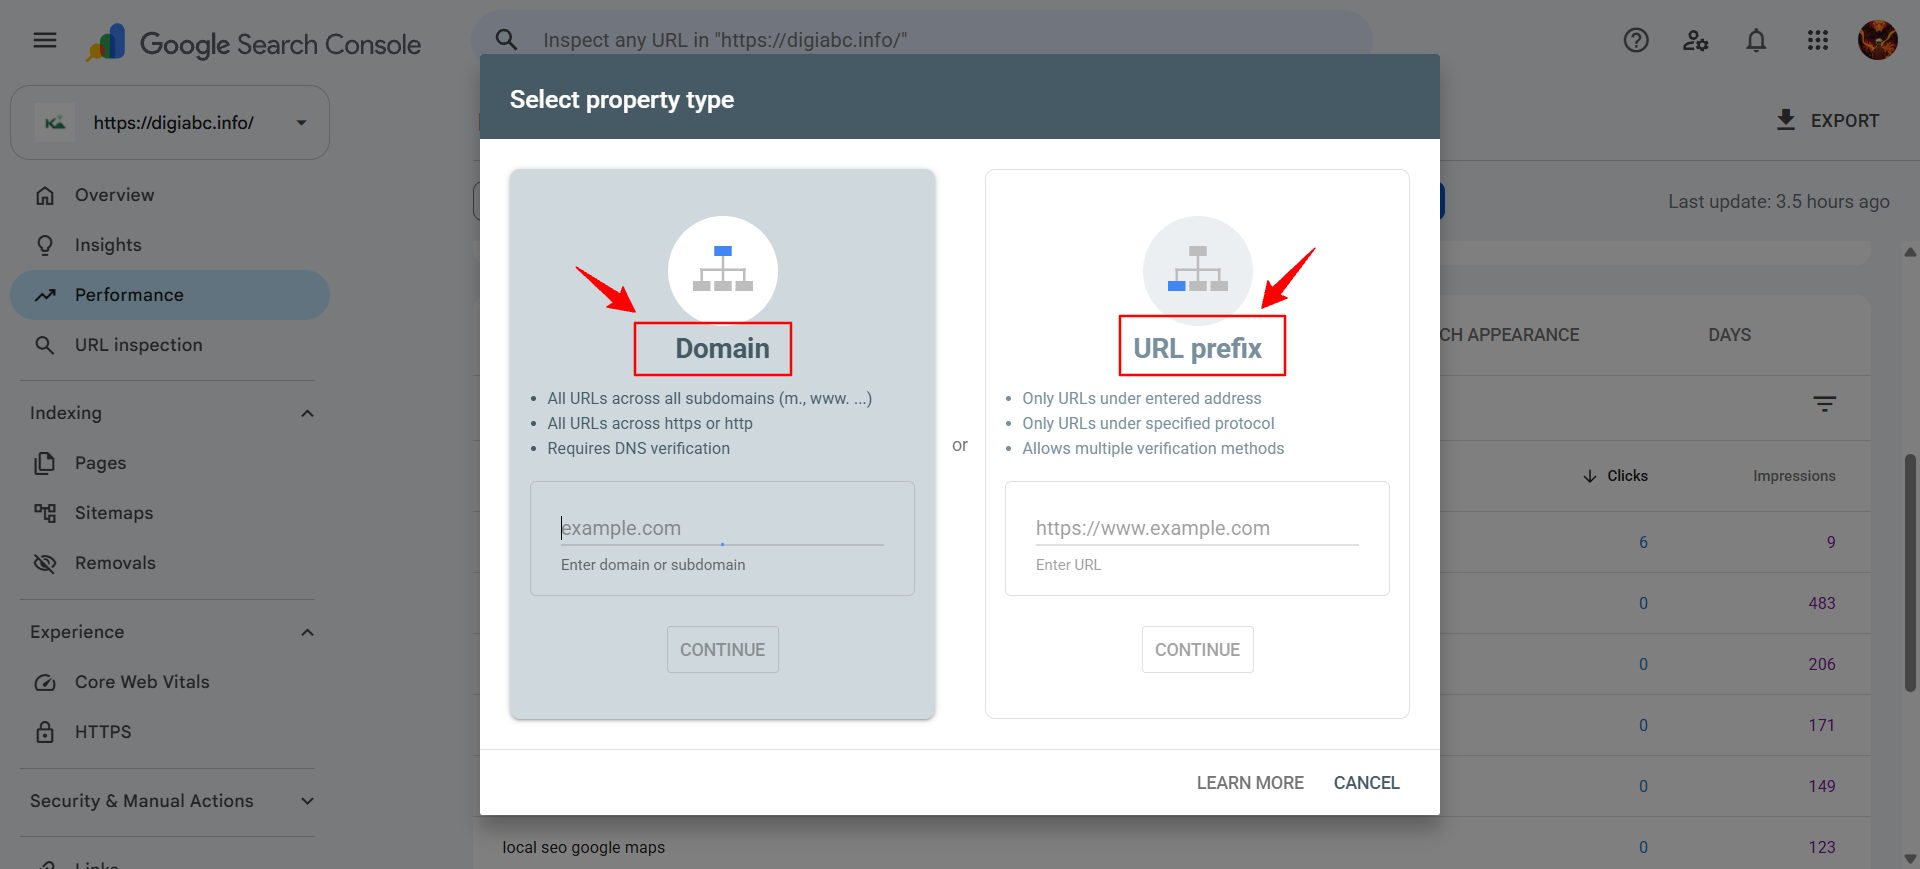
Domain property vs URL-prefix property
| Domain property | URL-prefix property | |
|---|---|---|
| What it covers | Every subdomain and protocol under the root domain: http, https, www, non-www, blog.yoursite.com, shop.yoursite.com, all combined into one report | One exact URL version only, for example just https://www.yoursite.com |
| Verification methods | DNS TXT record only | HTML tag, HTML file, Google Analytics, Google Tag Manager, or DNS |
| Best for | Most site owners; the recommended default | No DNS access, or you want to scope data or access to one section, like giving a freelancer visibility into only /blog/ |
| Common trade-off | Requires access to your domain registrar’s DNS settings | Faster to verify, but only ever shows the one version you set up |
If you have DNS access, add the Domain property first. It’s the only view that shows your whole site at once, and it means you won’t quietly miss data because an old http version or a www redirect is being crawled outside a narrower URL-prefix property. If you’re on shared hosting without registrar access, or you specifically need to limit what one person can see, start with URL-prefix and add the Domain property later once you get DNS access.
Verifying a Domain property
- In Search Console, choose Domain, enter your root domain with no https:// and no www, and click Continue.
- Copy the TXT record Google gives you.
- Log into your domain registrar or DNS host (GoDaddy, Namecheap, Cloudflare, or your hosting panel) and add it as a new TXT record at the root.
- Save, return to Search Console, and click Verify.
DNS changes usually propagate in ten to thirty minutes, though some providers take up to 48 hours. If verification fails right away, wait an hour before assuming something’s wrong.
Verifying a URL-prefix property
Pick whichever of these you can do fastest. You only need one.
- HTML tag. Copy the meta tag Google gives you and paste it into the
<head>of your homepage. On WordPress, your SEO plugin (Yoast, RankMath) usually has a dedicated field for this, so you don’t need to touch theme files directly. - HTML file upload. Download the file Google gives you and upload it to your site’s root directory via FTP or your host’s file manager, so it’s reachable at yoursite.com/filename.html.
- Google Analytics. If GA is already installed on your homepage and you have edit access to it, select this option and click Verify. No extra code required.
- Google Tag Manager. Same idea: if GTM is already firing on your homepage and you have publish or admin rights in that container, this verifies in one click.
Whichever method you use, note it down somewhere. The most common way sites quietly lose verification months later is a theme update or plugin deactivation removing the meta tag, which drops your Search Console access without warning.
Which one should you actually pick?
If this is your only site and you can access DNS: Domain property, no real debate. If you’re setting this up for a client and don’t have DNS access yet: URL-prefix with the HTML tag method today, then add the Domain property once you or your developer gets registrar access. Once a Domain property is verified, any URL-prefix property under it verifies automatically using the same DNS record, so you’re not redoing work later.
Step 2: Submit your sitemap
In the Sitemaps section, submit your XML sitemap, usually found at yoursite.com/sitemap.xml or sitemap_index.xml. This gives Google a clean map of every page you want indexed and is the fastest way to get a new site discovered. This is a core step in our SEO for a new website guide.
Step 3: Learn the reports that matter
Three reports do most of the work. Performance shows the queries, clicks, impressions, and positions for your site, the data you will check most. Pages (under Indexing) shows what is indexed and what is excluded, and why. URL Inspection lets you check any single page and request indexing for it.
Together they connect to the rest of your technical SEO work and tell you what Google actually sees.
Performance report: read it without fooling yourself
The Performance report shows clicks, impressions, average CTR, and average position for real Google searches. Two cautions: “average position” is averaged across every query and can hide a page that ranks third for one term and fortieth for another, and the default view often excludes anonymized queries, so totals will not perfectly reconcile. Use it to spot trends and find pages stuck on page two, high impressions with low CTR, or position 8 to 20, which are your best optimization targets.
Indexing report: find out what’s excluded
The Pages (Indexing) report tells you which URLs are indexed and, more usefully, which are not and why: “Crawled, currently not indexed,” “Discovered, not indexed,” “Duplicate without canonical,” and so on. Those reasons are direct feedback on content quality and crawl issues. A page that is not indexed cannot rank, so this is where many quiet problems hide.
URL Inspection: check a page and request indexing
Use URL Inspection to check a single page’s index status, see the crawled version, and request indexing after you publish or significantly update a page. Requesting indexing nudges Google to recrawl sooner; it does not guarantee or improve ranking.
Your weekly Search Console routine
Each week, run three checks. In Performance, look at queries where you rank on page two with a decent click-through, those are near-misses one small improvement could push onto page one, and also scan for pages that are slipping in position over time. In the Pages report, check for new exclusions that showed up after your last publish or update. And review any manual actions or Core Web Vitals warnings, since both flag problems that cost you traffic quietly. Fifteen minutes here catches most problems before they get expensive.
One opinion: the highest-value SEO habit for a small site is reading Search Console queries every week and improving the near-misses, not chasing new keywords.
FAQ
Is Google Search Console free?
Yes, completely free. Anyone who owns a website can verify it and use every report at no cost. It is the single most valuable free tool in SEO.
What is the difference between Search Console and Google Analytics?
Search Console reports on how you perform in Google Search, including queries, rankings, and indexing. Google Analytics reports on what visitors do once they reach your site. They answer different questions and most sites use both.
Written by Kavinder Singh. Last updated: August 3, 2026.

8 Comments
Comments are closed.